This will be useful if:
- You are a driving instructor and want to join the Licence Help platform.
You are trying to:
- Register as an instructor and start receiving bookings through Licence Help.
Overview
Licence Help connects independent, accredited driving instructors with learners across Sydney. The sign-up process asks for your personal and instructor credentials, vehicle details, service area and payment setup so learners can find and book you. Below is a practical step-by-step guide to get you live on the platform.
Step 1: Click Join as Instructor
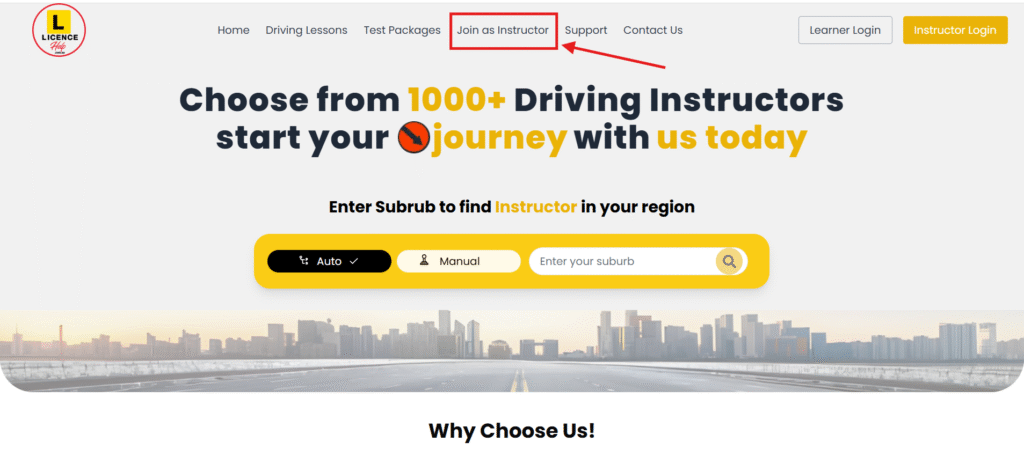
From any page, open the Menu (top right) and click Join as Instructor (or Instructor Sign Up).
Then Instructor Application page will open and you need to enter your full name, email, password, mobile number, your years of experience, vehicle transmission type, add your bio and add language information. Then Click Submit.
Make sure you filled all requirements then submit application.
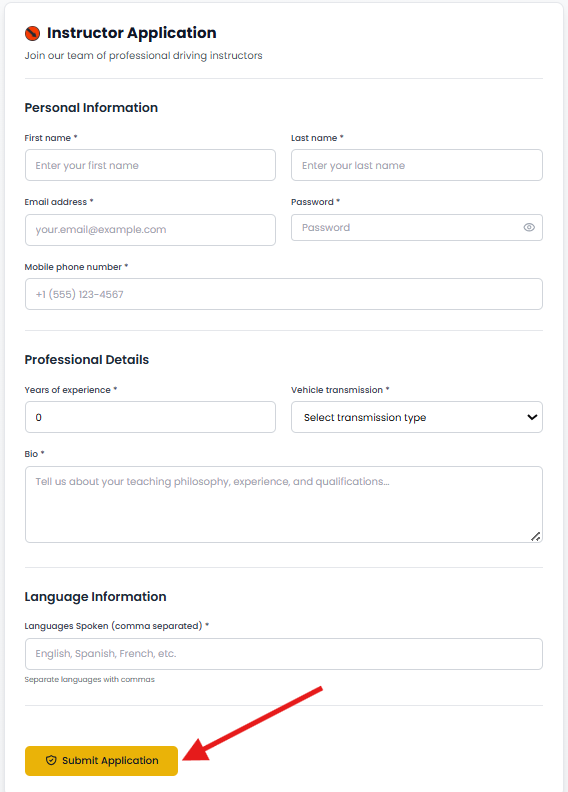
Once you complete, you will be directed to your Instructor Dashboard.
Step 2: Dashboard Overview
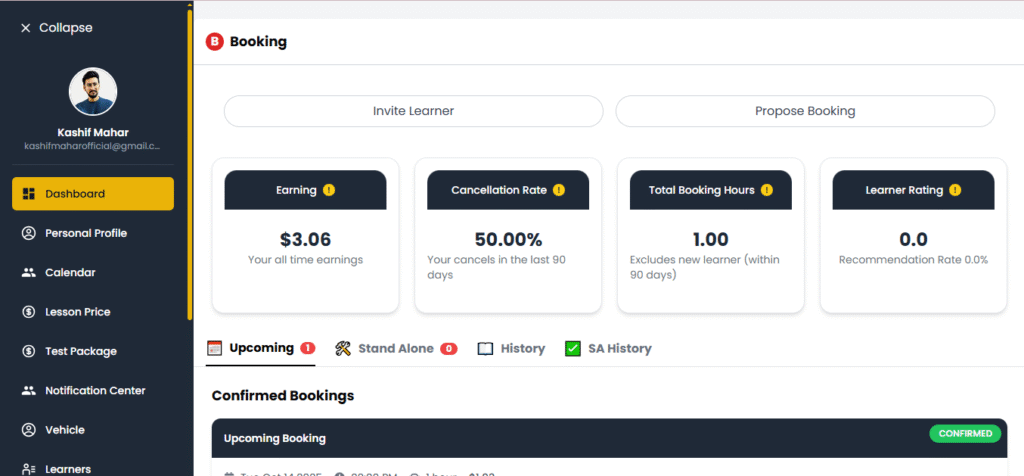
Once your profile is approved, go to your Dashboard to manage lessons and earnings.
- Earnings
- This shows your total income from all driving lessons.
- For example, “$3.06” means your total earning so far from completed lessons.
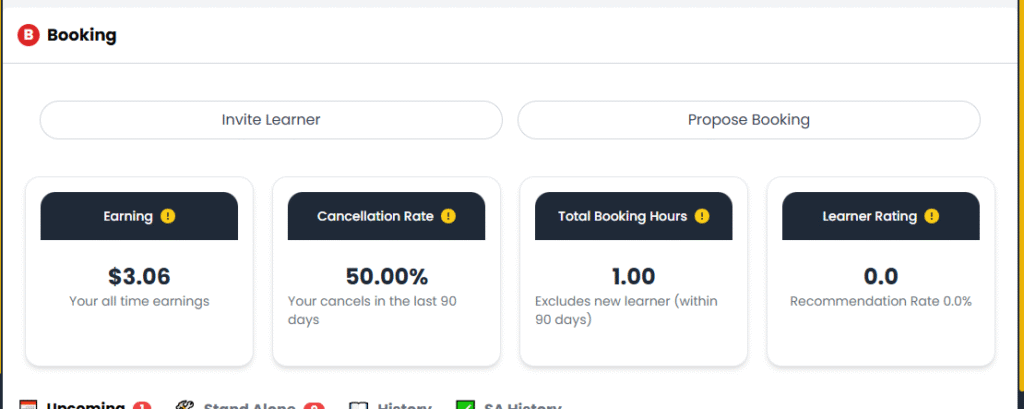
- Cancellation Rate
- Displays the percentage of lessons you have canceled in the last 90 days.
- A lower percentage is better. Try to keep this below 20% to maintain a strong instructor profile.
- Total Booking Hours
- This shows the total number of hours booked by learners.
- Example: “1.00” means one hour of lesson time booked so far.
- Learner Rating
- This rating shows how satisfied your learners are after completing their sessions.
- Encourage students to leave positive feedback after lessons to improve your Recommendation Rate.

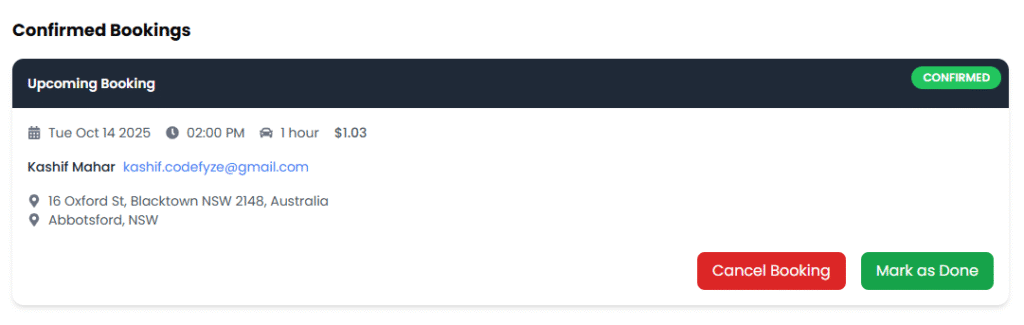
- Confirmed Bookings
- Below the statistics, you’ll see your upcoming confirmed bookings.
- Each booking shows:
- Date & Time of the lesson
- Duration (e.g., 1 hour)
- Learner’s email and address
- Lesson status (e.g., “Confirmed”)
- Lesson Actions
- Cancel Booking: If you can’t make it, click this red button to cancel.
- Mark as Done: After completing a lesson, click this green button to record it as finished. This updates your progress and earnings.
Step 3: Personal Profile Setup
This is the first and most important step after logging in.
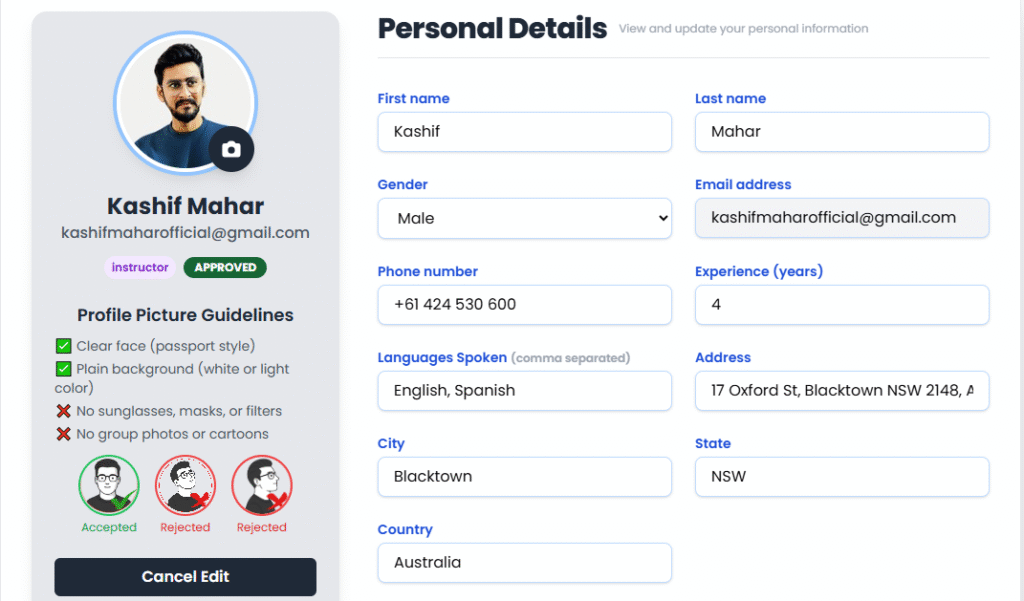
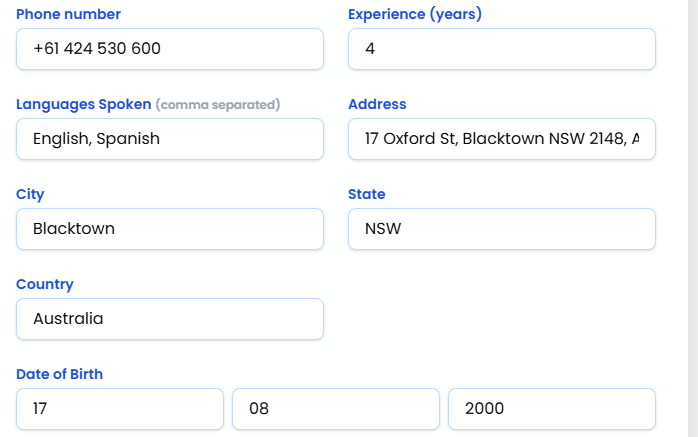
- Profile Details
- You’ll see your personal information such as your name, email, gender, phone number, city, state, and country.
- Make sure all these details are correct because this information will appear on your instructor profile.
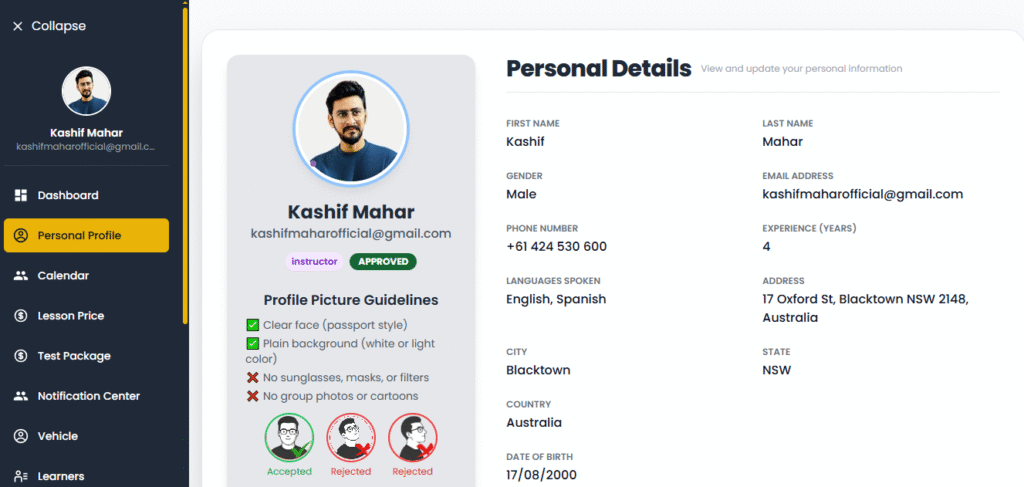
- Profile Picture Guidelines
- Your profile picture must be clear and passport-style.
- Use a plain background (white or light color).
- Avoid sunglasses, masks, or filters.
- Don’t upload group photos or cartoon images.
- The system automatically shows which images are Accepted or Rejected according to the guidelines.
- Instructor Verification
- Once your profile picture and information are approved, your profile will show an “Approved” status in green.
- You’ll also see your role (Instructor) and email verification confirmation.
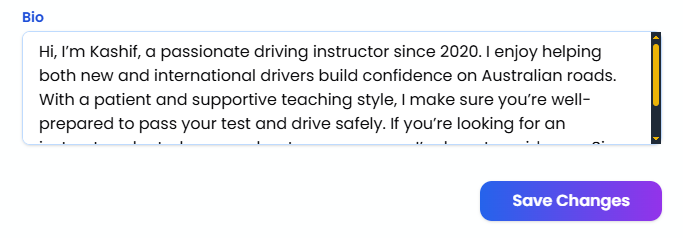
- Bio Section
- Write a short and professional bio about yourself.
- Example: “Hi, I’m Kashif, a passionate driving instructor since 2020. I enjoy helping learners gain confidence on Australian roads.”
- This section helps learners know more about you before booking a lesson.
- Languages and Experience
- Mention the languages you speak (e.g., English, Spanish).
- Add your years of experience to build trust with students.
- Address and Date of Birth
- Your residential address and date of birth must match your official documents for verification purposes.
Step 4: Calendar Management
The Calendar helps you control your working hours, availability, and scheduled lessons.
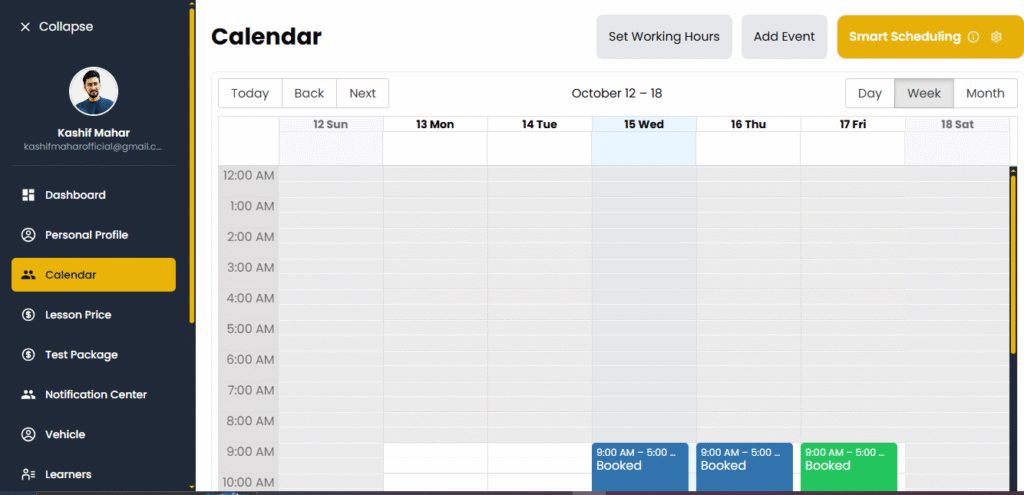
- View Options
- You can view your schedule by Day, Week, or Month.
- The system automatically highlights booked or buffer times in color-coded blocks.
- Set Working Hours
- Click “Set Working Hours” to define when you’re available to teach.
- For example, 9:00 AM – 5:00 PM daily.
- Learners can only book lessons within your available time slots.

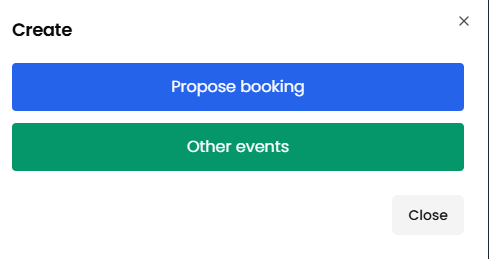
- Add Event
- If you want to block personal time (e.g., appointments or breaks), click “Add Event.”
- This prevents learners from booking you during that time.
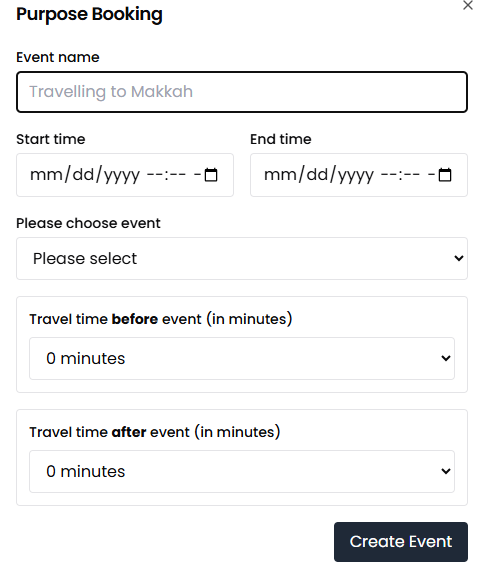
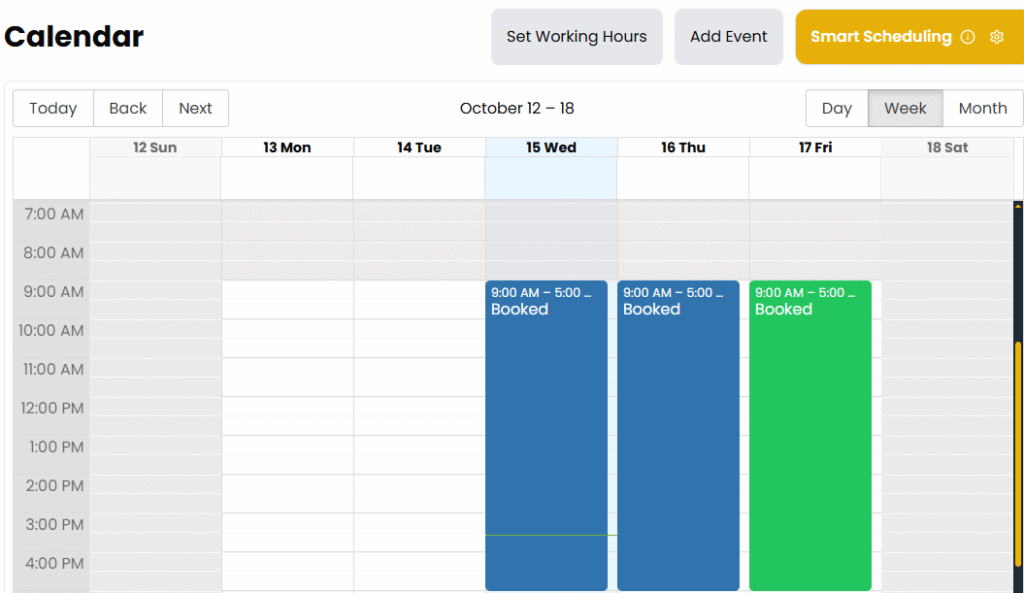
- Smart Scheduling
- The Smart Scheduling feature automatically manages your lesson times and buffer breaks.
- You can set a buffer before and after lessons (e.g., 15–30 minutes) to allow time between sessions.
- Booked Lessons
- Booked lessons appear in blue or green blocks.
- Example: On Tuesday, Oct 14, a “Lesson” is shown from 3:00 AM – 4:00 AM with buffers before and after.
- You can click any block to see lesson details or make changes if needed.
Step 5: Set Lesson Price
This is the first step after setting up your profile. Setting your lesson price correctly ensures you get fair bookings and attract the right learners.
Where to Go:
From the left-hand menu, click on “Lesson Price”.
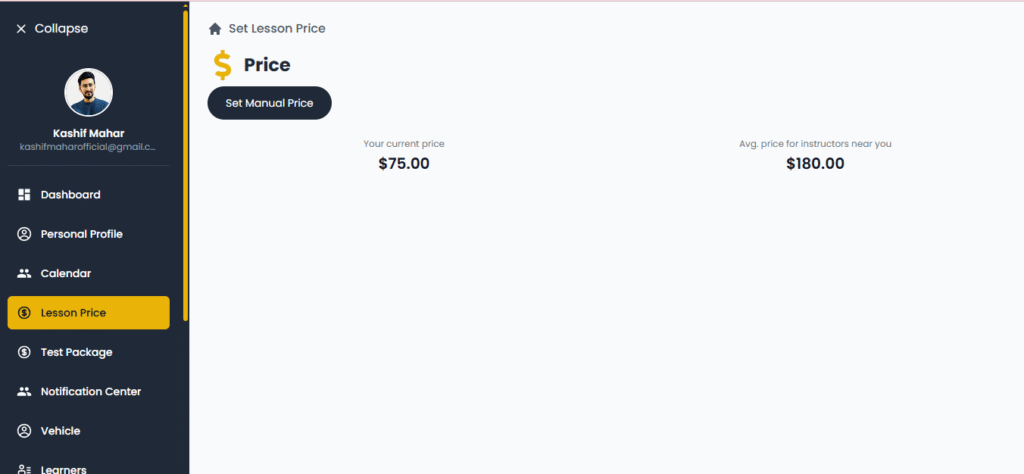
What You Will See:
- Your Current Price: This shows how much you’re currently charging per lesson.
Example:$75.00 - Average Price for Instructors Near You: This is the average price other instructors around you are charging.
Example:$180.00
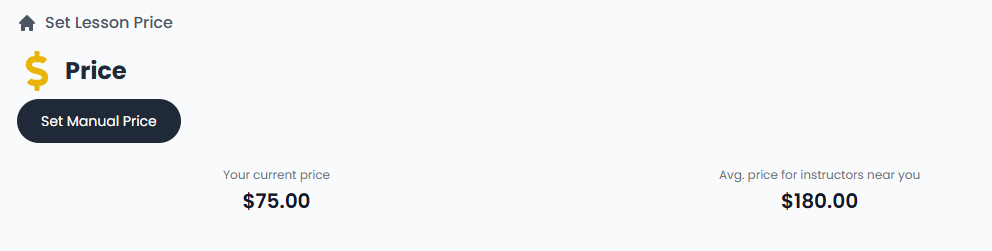
What to Do:
- Click the “Set Manual Price” button.
- Enter the amount you’d like to charge per lesson.
- Save the changes.
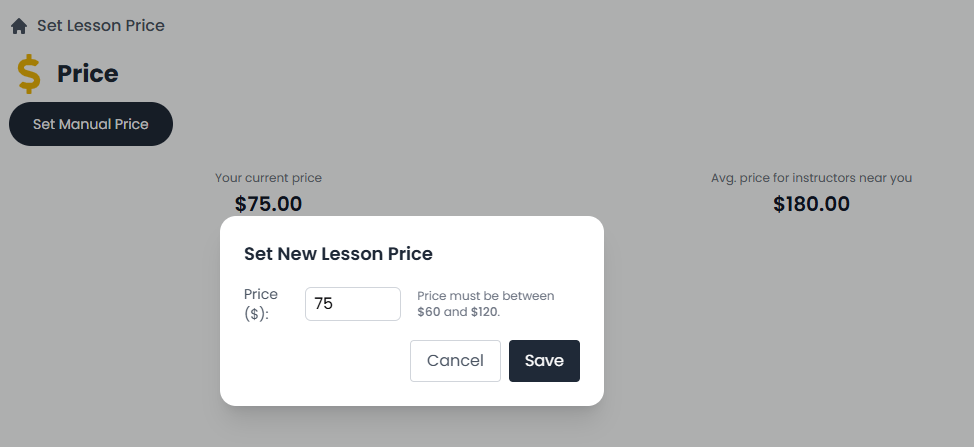
Tips:
- Check the average price shown to stay competitive.
- If you’re just starting, you can set a lower price to attract new students.
- You can increase your price later as your ratings and bookings grow.
Example: If you’re currently charging $75 but most instructors nearby are at $180, you might consider adjusting your price slightly higher for better value.
Step 6: Set Test Package
This is your special service for learners taking their driving test. It usually includes pickup, a short warm-up session, and use of your vehicle during the test.
Where to Go:
From the left-hand menu, click on “Test Package”.
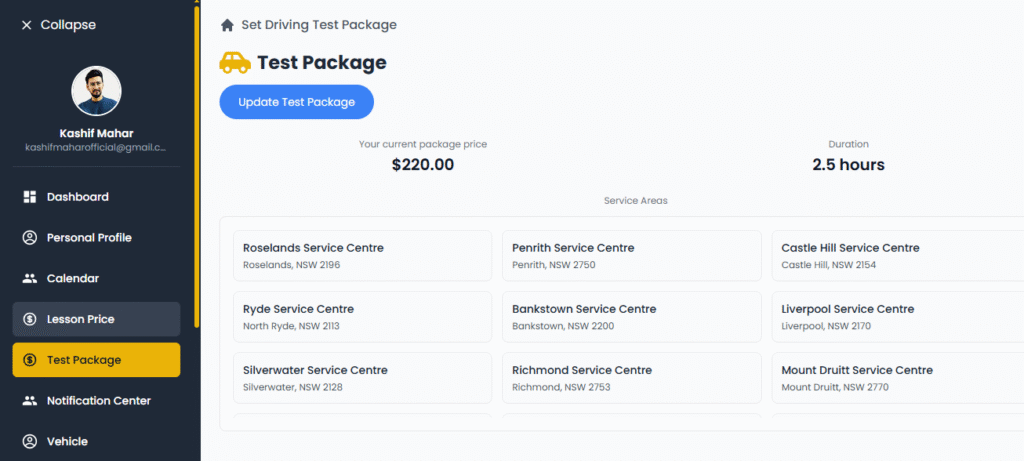
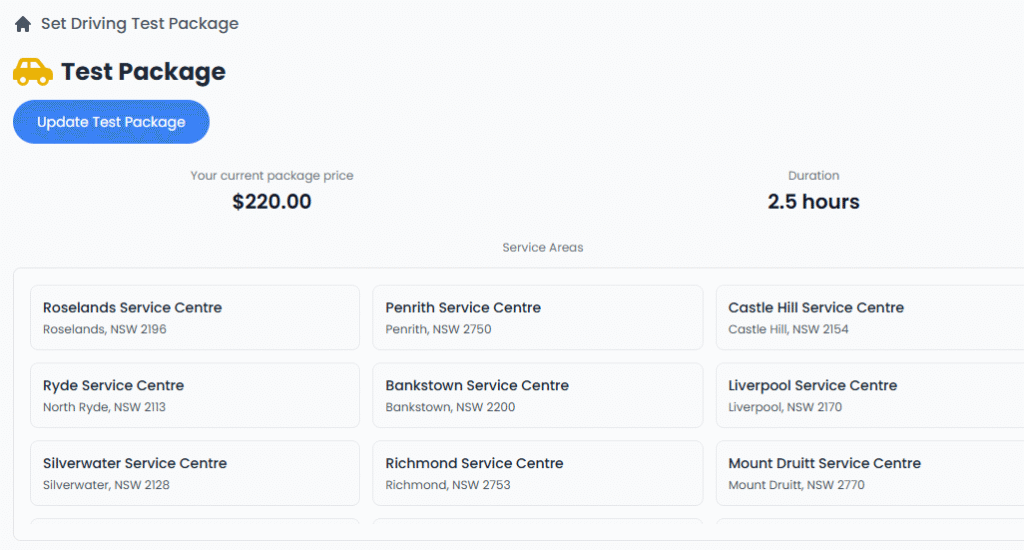
What You Will See:
- Your Current Package Price: Shows how much you’re charging for a complete test package.
Example:$220.00 - Duration: The total time you’ll spend with the learner on test day.
Example:2.5 hours - Service Areas: A list of RMS (Service NSW) centres where you’re available to offer this service.
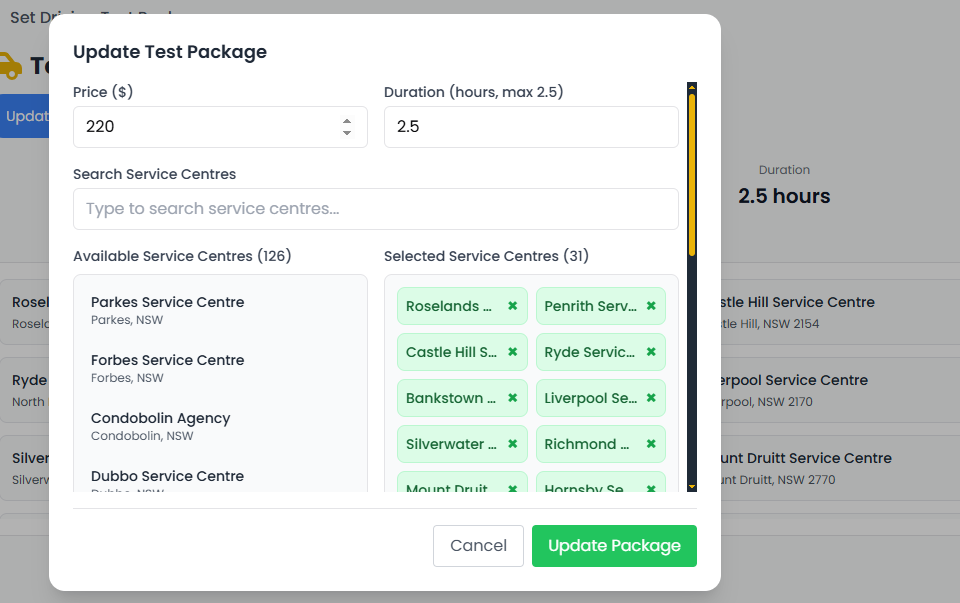
What to Do:
- Click the “Update Test Package” button.
- Set your preferred package price and duration.
- Select the Service Centres (RMS locations) where you can offer the package.
Example Locations: Castle Hill, Penrith, Bankstown, Liverpool, etc. - Save your changes.
Tips:
- Only select RMS locations where you can physically go.
- Make sure your availability matches the learner’s test day.
- Keep the duration realistic (usually 2 to 3 hours includes pickup, warm-up, test wait time, and drop-off).
Example: A learner books your $220 package for Castle Hill Test Centre. You meet them, do a short warm-up drive, and they use your car during their test.
Step 7: Notification Center
This section helps you stay updated with all important activities on your account.
Where to Go:
Click on “Notification Center” in the left-hand menu.
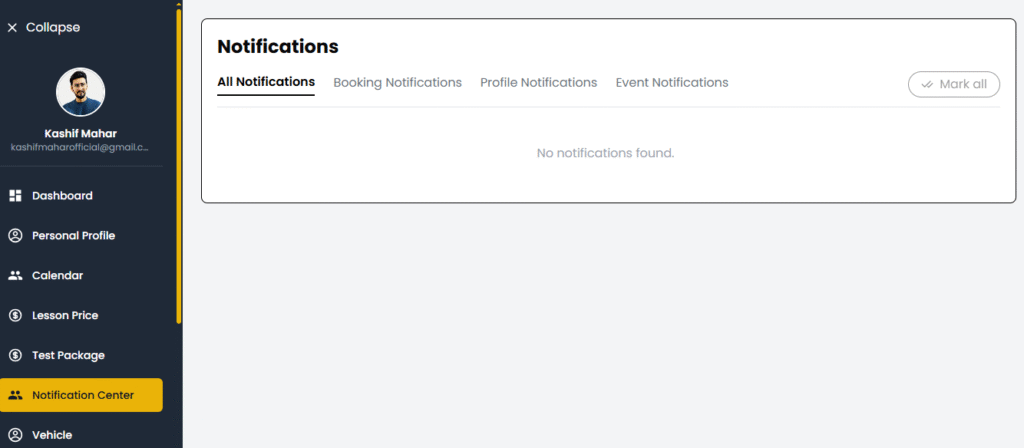
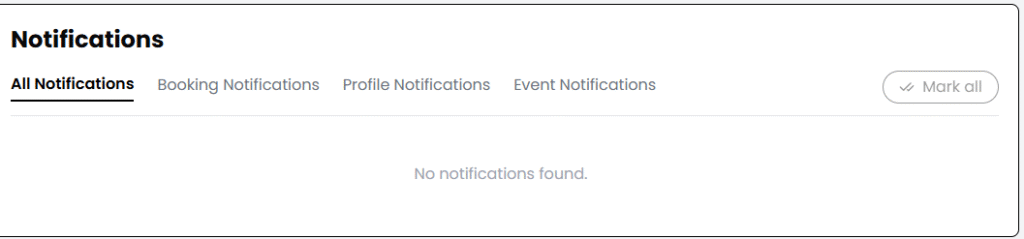
What You Will See:
There are 4 tabs:
- All Notifications – Shows everything in one place.
- Booking Notifications – Shows when someone books or cancels a lesson.
- Profile Notifications – Alerts about profile updates, approvals, or rejections.
- Event Notifications – System events, updates, and alerts.
If there are no notifications, the screen will say:
“No notifications found.”
What to Do:
- Open each tab to check for any new messages or alerts.
- If there’s an important action (like booking confirmation), act on it quickly.
- Click “Mark all” to clear your notifications after reading.
Tips:
- Always check this section daily to avoid missing bookings or learner messages.
- Immediate response to bookings helps improve your reliability and profile strength.
STEP 8: Vehicle Management – Add & Edit Your Vehicle
This section allows you to register your training vehicle and upload all required documents. Your students will only be able to book lessons if your vehicle details are correctly added and verified.
What You Will See:
Once you go to the “Vehicle” tab from the left sidebar menu, you will see a section like this:
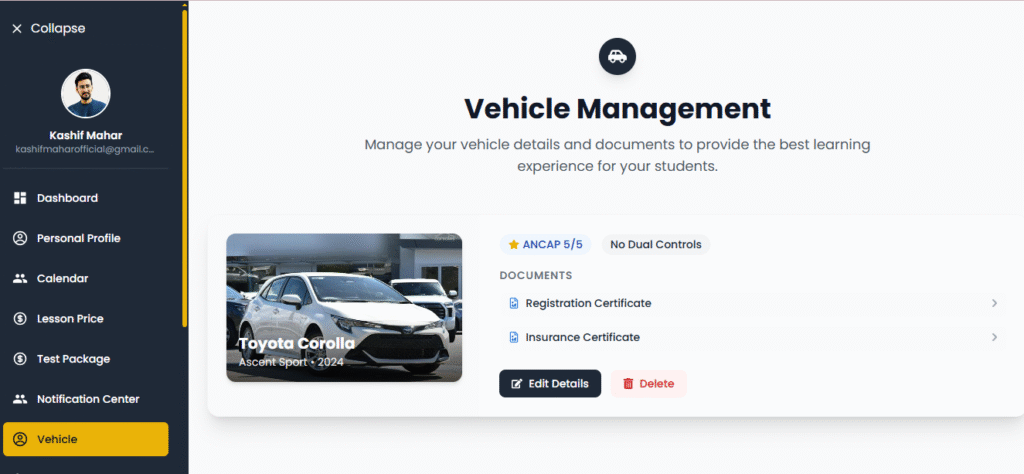
- A display of your vehicle image
- Vehicle Name: e.g. Toyota Corolla
- Model: e.g. Ascent Sport
- Model Year: e.g. 2024
- ANCAP Rating: Safety rating of the vehicle (out of 5 stars)
- Control Type: Whether your vehicle has dual controls or not
- Document Status:
- Registration Certificate
- Insurance Certificate
- Action Buttons:
- Edit Details – to update vehicle info
- Delete – to remove the vehicle from the system
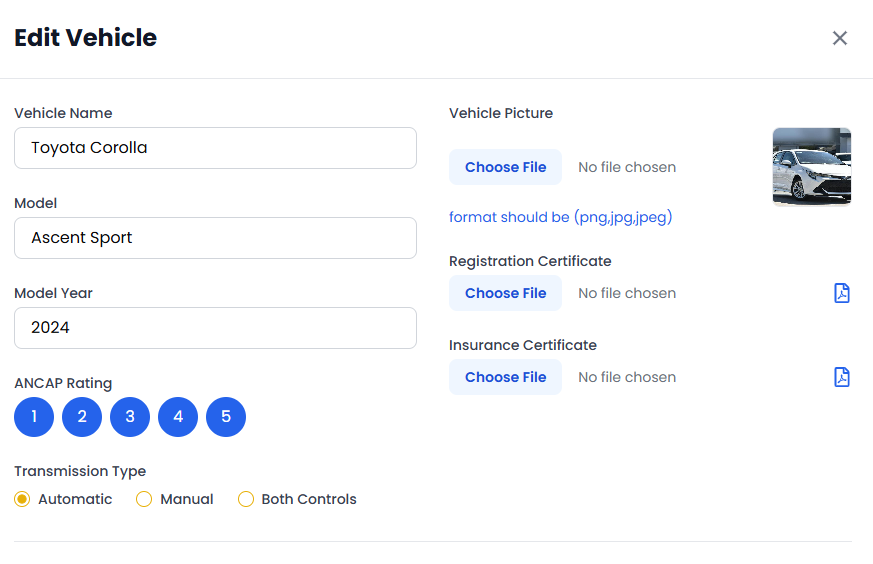
When You Click “Edit Details”:
You’ll be taken to a form where you must enter or update your vehicle details. Here’s how to fill it out:
Vehicle Information Section:
- Vehicle Name
- Example: Toyota Corolla
- Model
- Example: Ascent Sport
- Model Year
- Example: 2024
- ANCAP Rating
- Select from 1 to 5 stars (Choose 5 if your car has the highest safety rating)
- Transmission Type
- Choose one of the following:
- Automatic
- Manual
- Both Controls (if your vehicle has dual controls for both driver and instructor)
- Choose one of the following:
- Vehicle Picture
- Upload a clear image of your vehicle
- Formats supported: .png, .jpg, .jpeg
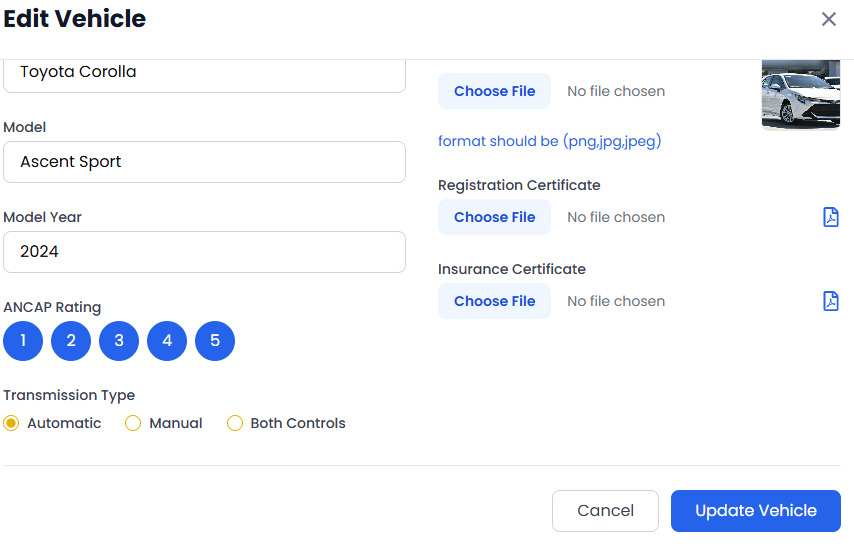
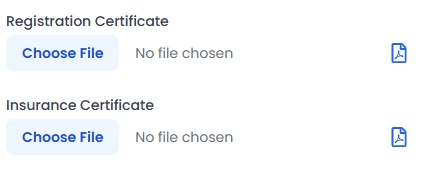
Upload Required Documents:
- Registration Certificate – Must be a valid document
- Insurance Certificate – Ensure it is up-to-date and shows the correct vehicle details
Once all fields are completed, save the changes. This helps the admin verify your vehicle and make it available for student bookings.
Important Note:
Without uploading both required documents and choosing correct control type (Automatic/Manual/Dual), your profile may not be eligible to receive student lesson requests.
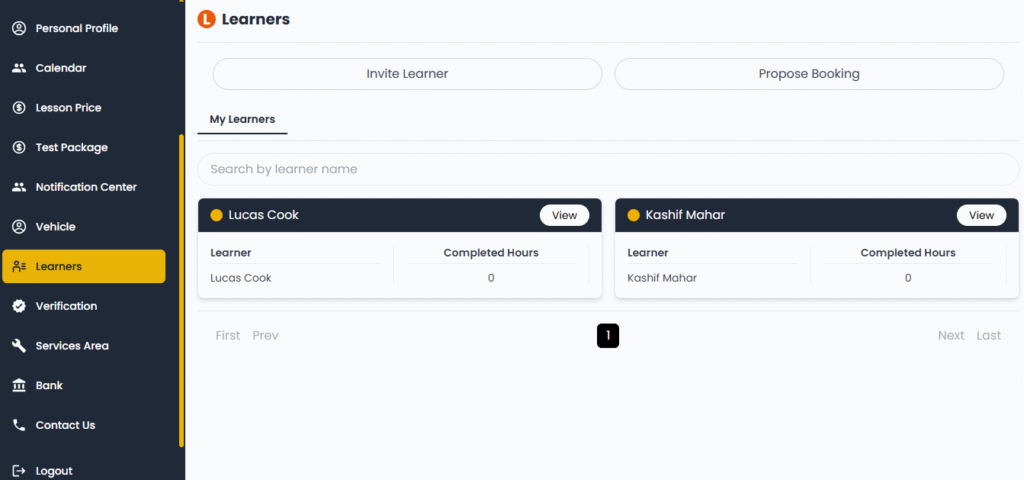
STEP 9: Learner Management – Track & Manage Your Students
This section allows you to view all learners who have booked lessons with you. It gives you detailed insight into their booking status and lesson history.
How to Access:
Go to the “Learners” tab from the left menu. You’ll see a list of learners. Click on any learner to view their full details.
Learner Details Page Includes:
- Learner’s Basic Info:
- Full Name
- Email address
- Phone number
- Lesson Summary:
- Total Lessons: How many lessons the learner has booked
- Completed: Lessons that have already been conducted
- Cancelled: Any cancelled sessions
- Upcoming: The next scheduled lesson(s)
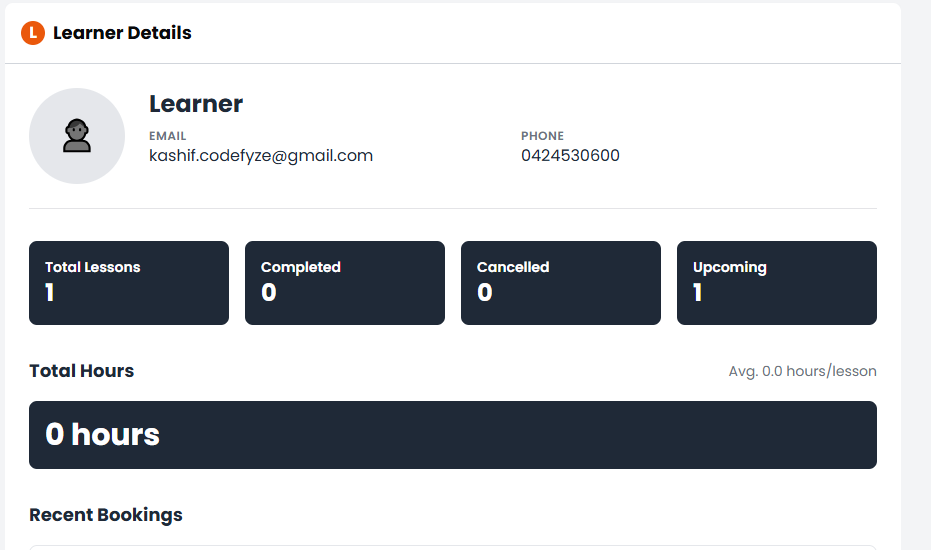
- Lesson Hours:
- Total Hours: Total time taught
- Average Hours per Lesson: Helpful to track learner’s pace and progress
- Recent Bookings:
- A list of upcoming or past lesson bookings (this helps track their training journey)

Pro Tip for Instructors:
Keep an eye on learners with upcoming lessons so you can stay prepared. If any lesson is marked but not completed, reach out to support or mark it as completed once finished.
Step 10: Verification Process
Where to go: Click on the “Verification” tab from the left-hand menu.
To begin receiving bookings, your profile needs to be verified.
Here’s what you need to do:
- Upload all the required documents — this usually includes your valid driver’s license, instructor ID, and any other necessary identification.
- Once your documents are submitted, our team will review and approve them.
- After successful approval, your screen will show a green confirmation box that says:
“Congratulations! You’re verified ”
Your documents are verified successfully. Please set up your profile and vehicle to continue your booking journey.
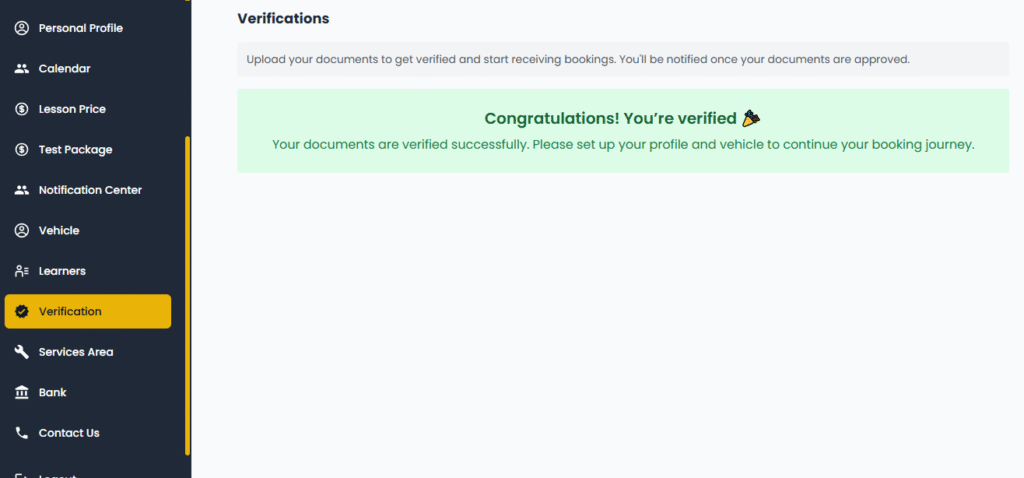
That’s it! You’re now officially verified and ready to move on to the next step.
Step 11: Setting Up Your Service Area
Where to go: Click on “Services Area” in the left-hand menu.
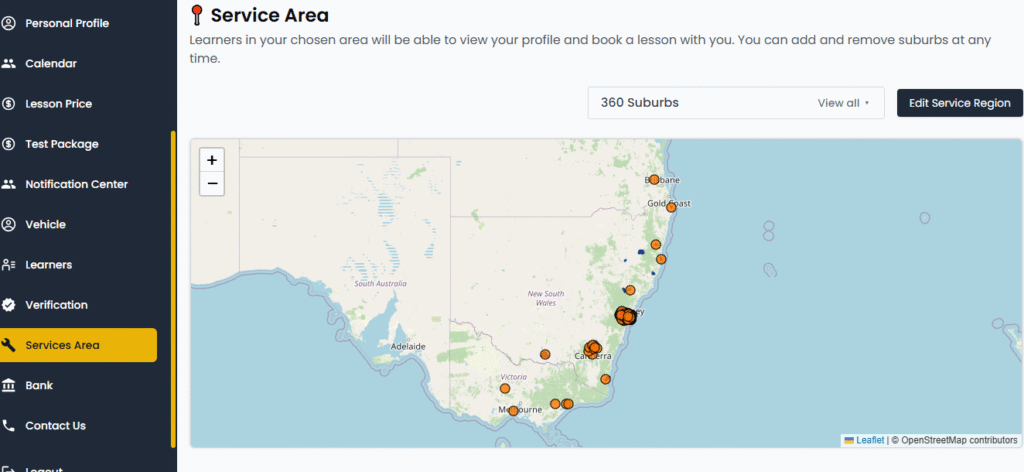
This step is very important because it allows learners in your chosen suburbs to see your profile and book driving lessons with you.
- On this page, you’ll see a map of Australia with highlighted suburbs where you are currently active.
- To edit or update your service regions, click the “Edit Service Region” button on the right side.
- A new popup window will appear where you can manage your selected suburbs.
Selecting Suburbs
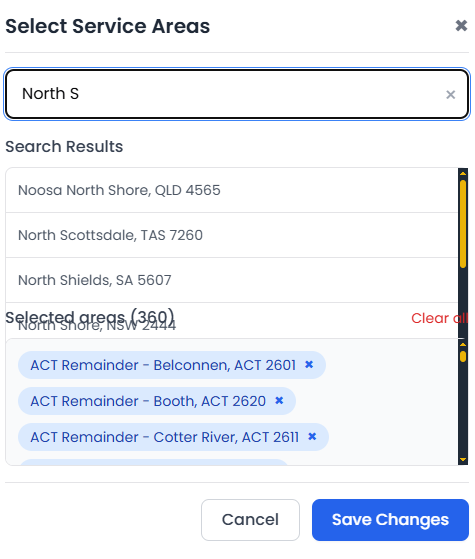
Once the Edit Service Areas popup opens:
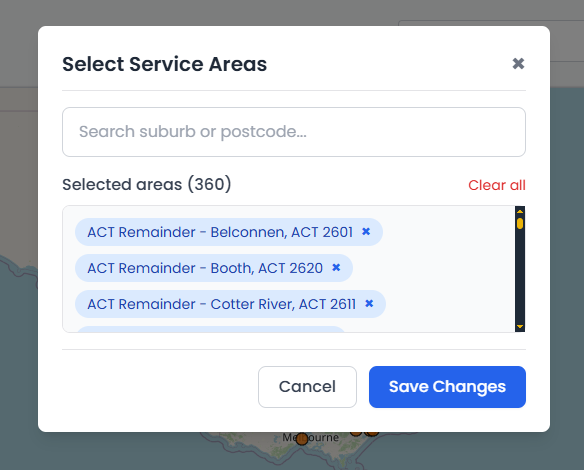
- Use the search bar to look up suburbs by name or postcode.
- The list below shows the suburbs you’ve already selected. (Example: Belconnen, Booth, Cotter River, etc.)
- To remove a suburb, simply click the ❌ icon next to it.
- To remove all, you can click “Clear All”.
- After making your selections, click “Save Changes” to update your profile.
Pro Tip: Make sure you only select the areas where you can actually provide lessons — this ensures the best experience for both you and the learners.
Step 12: Add Your Bank Information
- Go to the left-hand side menu and click on “Bank”.
- In the Banking & Withdrawals section:
- You will see your current wallet balance.
- Please note: Withdrawals are only available once your balance reaches $1000 AUD.
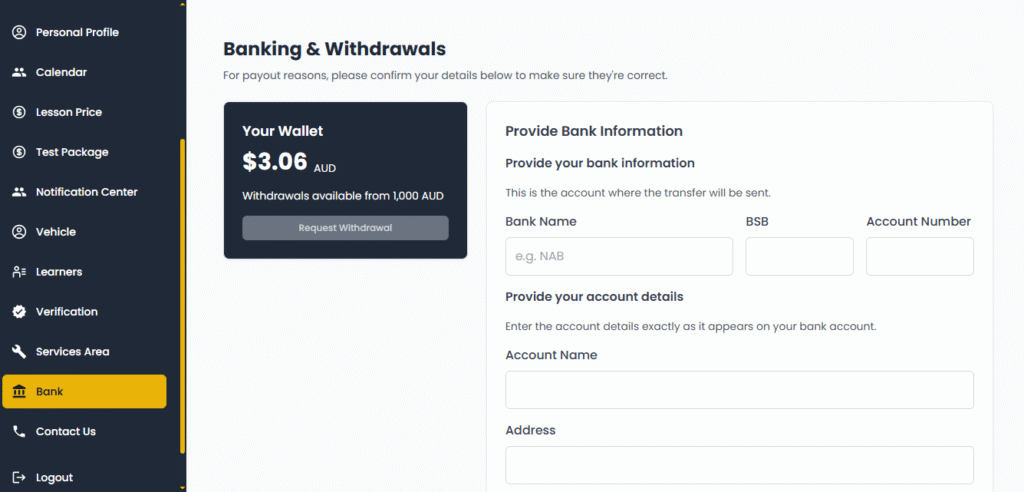
- Now scroll to the “Provide Bank Information” section and fill in the following:
- Bank Name (e.g., NAB, Commonwealth Bank)
- BSB (6-digit bank code)
- Account Number
- Account Holder’s Full Name
- Address, Postcode, State
- Country will be Australia by default
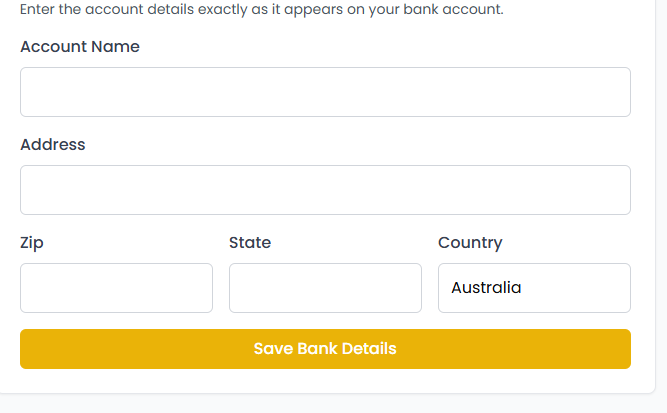
- Once everything is filled in correctly, click the yellow “Save Bank Details” button.
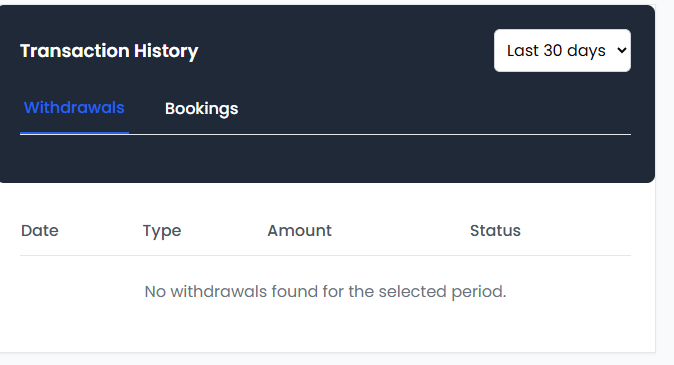
View Your Transaction History
- Below the bank form, you will see the Transaction History section.
- Under the “Withdrawals” tab:
- You can view the history of your previous withdrawal requests.
- If no withdrawals have been made yet, it will say “No withdrawals found”.
- You can also use the date filter (top right) to check transactions from the last 30, 90 days, or custom dates.
- You can switch to the “Bookings” tab to view your past lessons or test bookings.
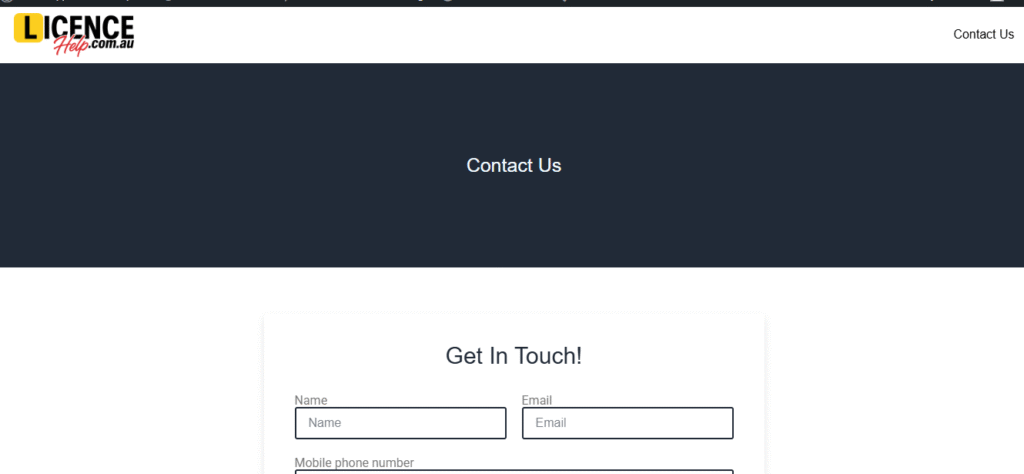
Step 13: Contact us (If You Need Help)
If you need any assistance, please:
- Go to the “Contact Us” section from the left menu.
- On that page:
- You’ll find helpful resources under the Support menu.
- Or, scroll down and click on the “here” link to submit a request to the support team.
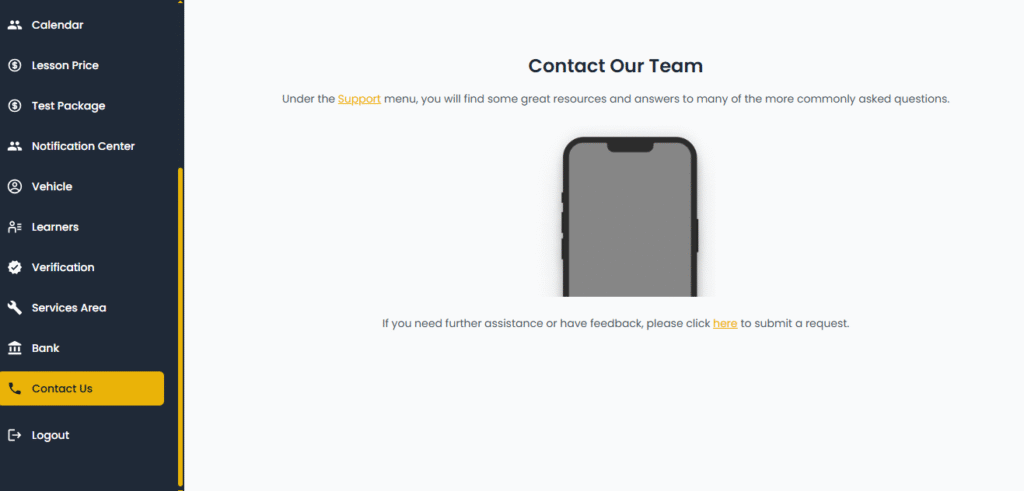
- Explain your issue clearly in the form. The team will get back to you shortly.
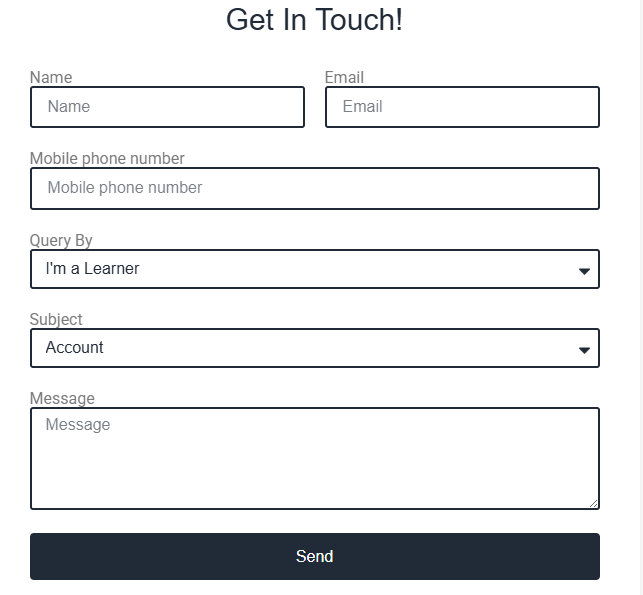
Get in Touch
Your Name
Email Address
Mobile number
Query
Subject
Message
then Send
Note:
Make sure the bank details you provide are accurate and match your actual bank account. Incorrect details can delay your payment.